How to Refinish, Restore, and Maintain Your Wood Deck

Decks top the charts as one of the most popular features among Southern Californian homeowners. After all, what’s not to love, especially in a place with such great weather?
Decks provide the perfect spot for outdoor entertaining, dining al fresco, and enjoying fresh air and sunshine. Not only that, but a beautiful wooden deck can also add value and curb appeal to your home.
However, like any other outdoor element, decks require proper maintenance to stay looking their best. Over time, sun, rain, and general wear and tear can take a toll on even the best-built deck.
That’s why you should routinely conduct wood deck maintenance. Furthermore, you’ll need to prioritize refinishing and restoring your deck.
In this guide, we’ll explain how to care for your wood deck, step by step, so you can enjoy it for many years to come.
Step 1: Thoroughly Clean the Deck

The first step in refinishing your wood deck is always a thorough cleaning. You need to remove all the dirt, mold, mildew, and other contaminants that have accumulated on the surface over time. Eliminating these will not only make your deck look better, but it will also help the new finish adhere properly.
To clean your deck, start by wetting the entire surface. Then, scrub the deck with a deck cleaning solution using a brush or power washer.
Try to get into all the nooks and crannies, as dirt and grime can build up in these hidden and hard-to-reach spots. Once you’ve scrubbed the entire surface, rinse off the deck’s surface.
If you’d rather avoid manual scrubbing and power washing, you can leave it to the professionals. Many deck refinishing companies offer quick, painless pressure washing services that clean your deck faster than you can by hand.
Step 2: Clean with the Right Solution
This step is often overlooked, but it’s crucial for maintaining the integrity of your deck. You can’t just throw any cleaning agent on your wooden deck and assume it’ll do the trick.
There are a variety of deck cleaners on the market, but not all of them are created equally. Some contain harsh chemicals that can damage your deck’s finish or even compromise the wood itself. Others simply don’t work well and will waste your time and money.
Unless you want to strip the wood of its natural color and destroy its cellular structure, do not use chlorine bleach to clean the deck. Instead, opt for an oxygen bleach, which will provide a perfect clean while maintaining the wood’s natural color.
You can find oxygen bleach powder at almost any hardware store. Simply mix it according to the package instructions, then apply it to the wet deck. Saturate the entire surface, then let it sit for about 15 minutes.
Step 3: Rinse the Deck Thoroughly
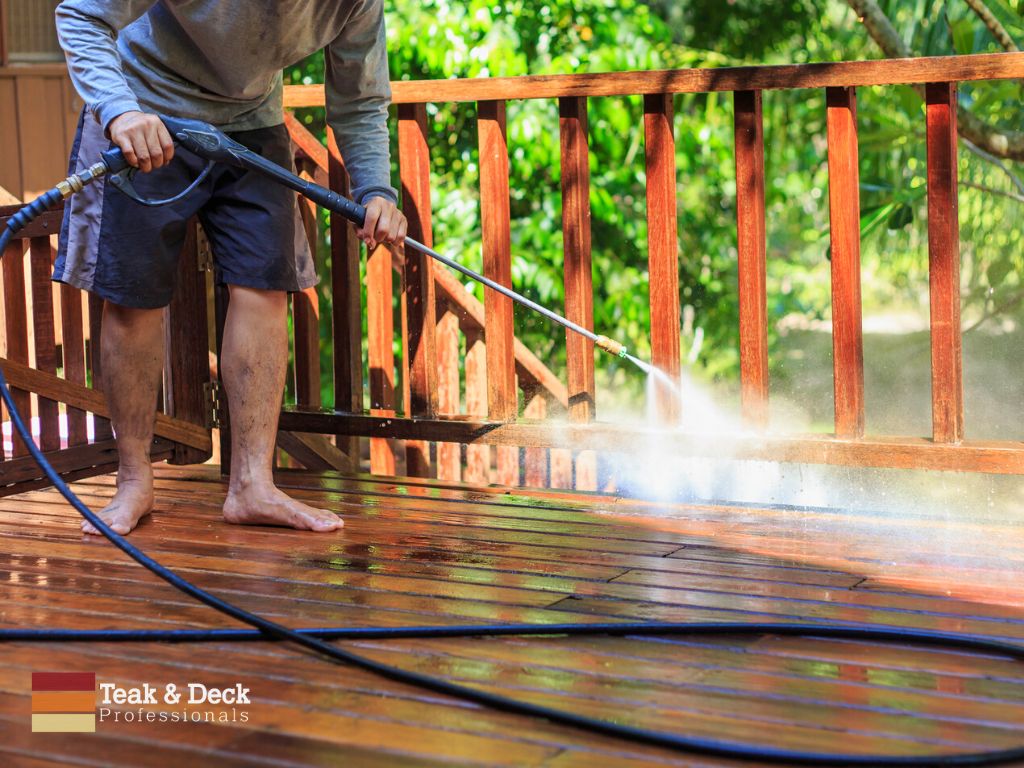
After you’ve let the oxygen bleach solution sit for at least 15 minutes, it’s time to rinse. Again, it’s extremely important to rinse the deck thoroughly. If you don’t, the oxygen bleach solution could continue to work on the wood and damage its cellular structure.
You can use either a garden hose or a pressure washer to remove all the residual solution from the surface of the wood. If you opt to use a power washer, be careful. Start by using the lowest setting and hold the nozzle no closer than six inches from the surface.
Once your deck is fully rinsed off, let it dry completely before moving on to the next steps. Depending on the climate, this could take a few hours to a full day. Don’t rush the process if you want your wood’s finish to stick.
Step 4: Inspect the Deck for Problems
Once you’ve cleaned the deck, inspect it for any problems. This step allows you to address any issues before you start the refinishing process.
Keep an eye out for the following issues during your inspection:
- Cracks or splits in the wood
- Rusting nails or screws
- Loose boards or handrails
- Nails that are popping up
- Rotten wood
If you notice any of these problems, make sure to fix them before proceeding with the refinishing process. These issues will often worsen over time, eventually leading to structural damage to your wooden deck. A little bit of wood deck maintenance now will save you a lot of money and headaches down the road.
Many of these problems can be fixed with a little bit of elbow grease and some basic tools. However, if the damage is too severe, you may need to replace the affected boards or handrails.
Step 5: Sand the Deck (If Necessary)
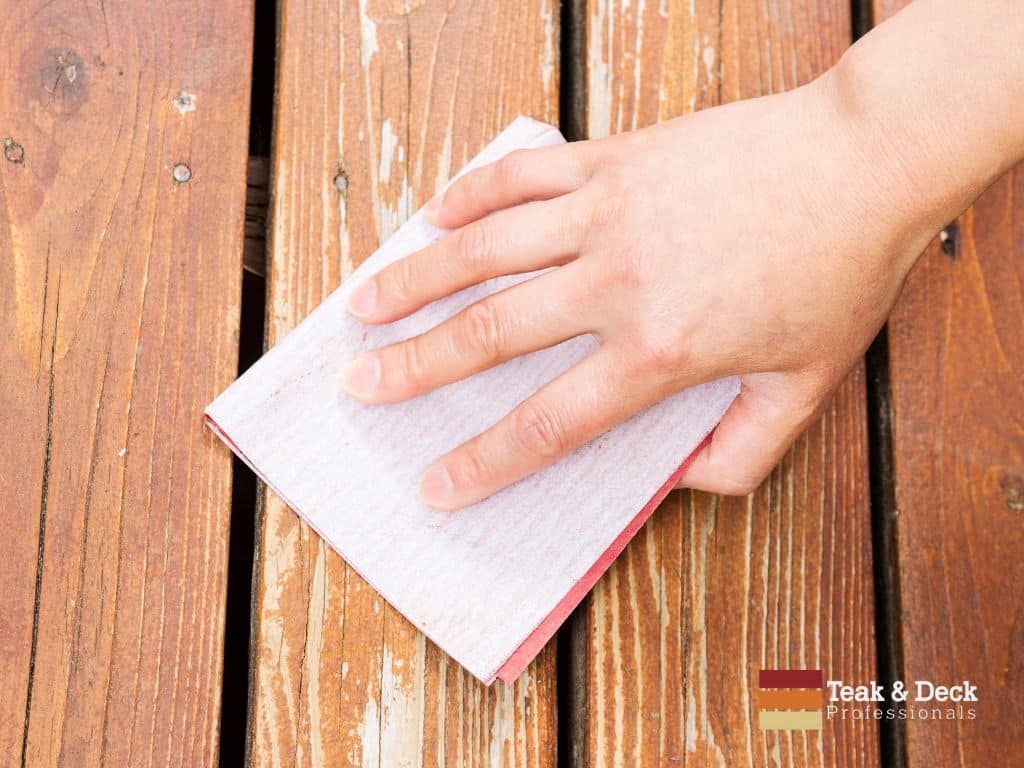
Once you’ve repaired any damaged boards and inspected the rest of the deck for problems, it’s time to sand. Keep in mind that this step is not always necessary before staining or sealing. However, if your deck is very old or has been refinished multiple times, you’ll likely want to sand it.
Sanding allows you to even out the surface of your wooden deck and removes any old stains or finishes. It also gives the new finish a better surface to adhere to.
If you have to sand your deck, don’t use a power sander. These can be too powerful and sometimes damage the surface of outdoor decks. Instead, you can hand sand with sanding blocks and vary the pressure more effectively this way.
Remember, sanding should be done 48 hours after the deck is washed and dried. After sanding, seal the surface to prevent cracking or warping.
Step 6: Apply a Wood Brightener
After you’ve sanded the deck, you’re ready to apply a wood brightener. Some people choose to skip this step, but we often advise it to help bring out the wood’s natural beauty once the stain is applied.
A wood brightener is a solution applied to the wood’s surface to bring out its natural colors. This is especially beneficial if your wood deck has faded by the sun or weather. Moreover, it also helps the stain better penetrate the wood and last longer.
To apply the wood brightener, mix it according to the package instructions and pour it into a garden sprayer, paint roller, or brush. Then, evenly coat the surface of the wood. Cover the entire deck, including any handrails or steps. If you miss a spot, the finish will not look uniform once applied.
Step 7: Seal the Deck
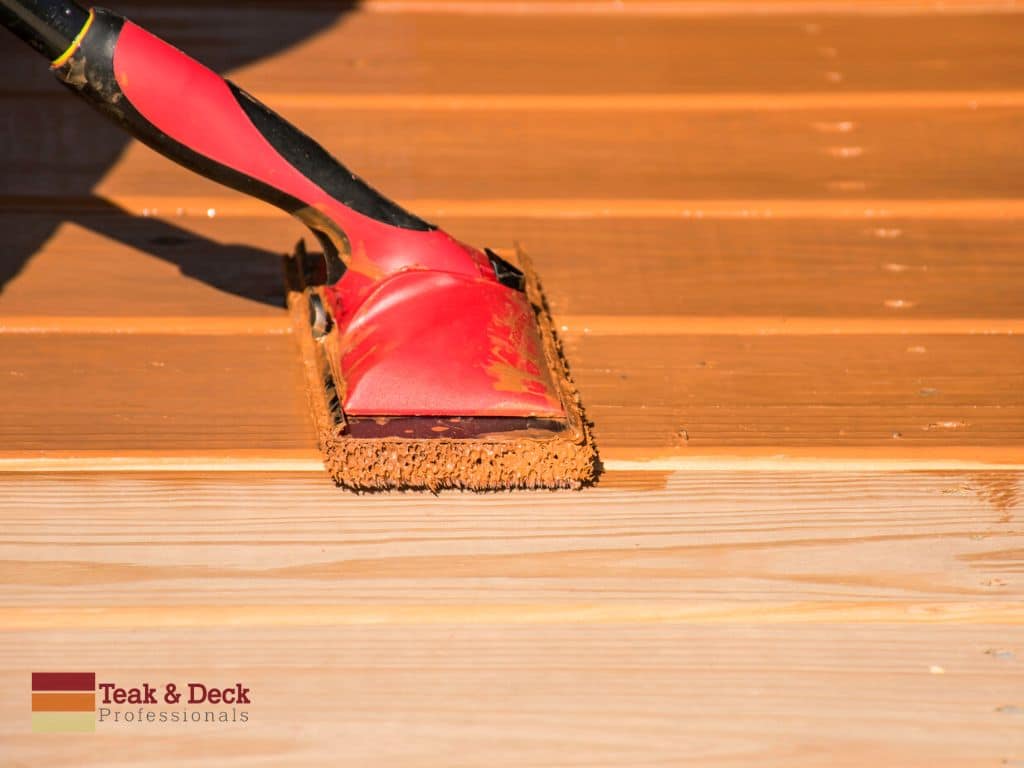
Once the deck is clean, and the wood brightener has dried, it’s finally time to apply a sealer. There are many different finishes on the market, so take some time to find one that is right for your needs.
Some finishes will protect the wood better than others. However, they may also change the color or appearance of the wood – so do your research.
If you want to keep the natural look of your wooden deck, opt for a more transparent, oil-based stain and sealer. If your deck is old or damaged, you may need to use a solid-color stain. This type of stain will not only protect the wood but will also cover up any blemishes or imperfections.
To apply the finish, simply follow the instructions on the can. In general, you will want to pour it into a garden sprayer or dip a paint roller into the stain. Then, evenly coat the entire surface of the deck. Work on getting the finish into all the nooks and crannies, including any handrails or steps. After the finish has been applied, allow it to dry according to the manufacturer’s instructions.
Many homeowners opt for professional deck refinishing services. This is especially true if the deck is very large or complex. A professional will have the necessary equipment and experience to get the job done right. Even better, they can often do it in a fraction of the time it would take you to do it by yourself.
Step 8: Repeat as Necessary

Once you’ve refinished your deck, it’s crucial to maintain it regularly. This means you’ll need to keep up with the cleaning throughout the year. Continuously keep an eye out for any damage and repair it as soon as possible.
Over time, the finish will wear down and need to be replaced. You won’t necessarily need to refinish or restore your deck annually, but you should monitor the deck’s state so you can repeat the process as necessary. This will help protect the wood from the elements and keep it looking its best.

